WARREN JAMES – JPEG Workflow – A brief introduction
South African X-Photographer, Warren James takes us through why he shoots Jpeg, the limitations of it, while also sharing six tips on using Jpeg at a professional level.
Introduction:
Using Jpeg on a professional level seemed foreign to me until I learned how to use it correctly, and where to place it in my overall workflow. Today I have been using Jpegs professionally for over two years and the results have been jaw-dropping, even to me.
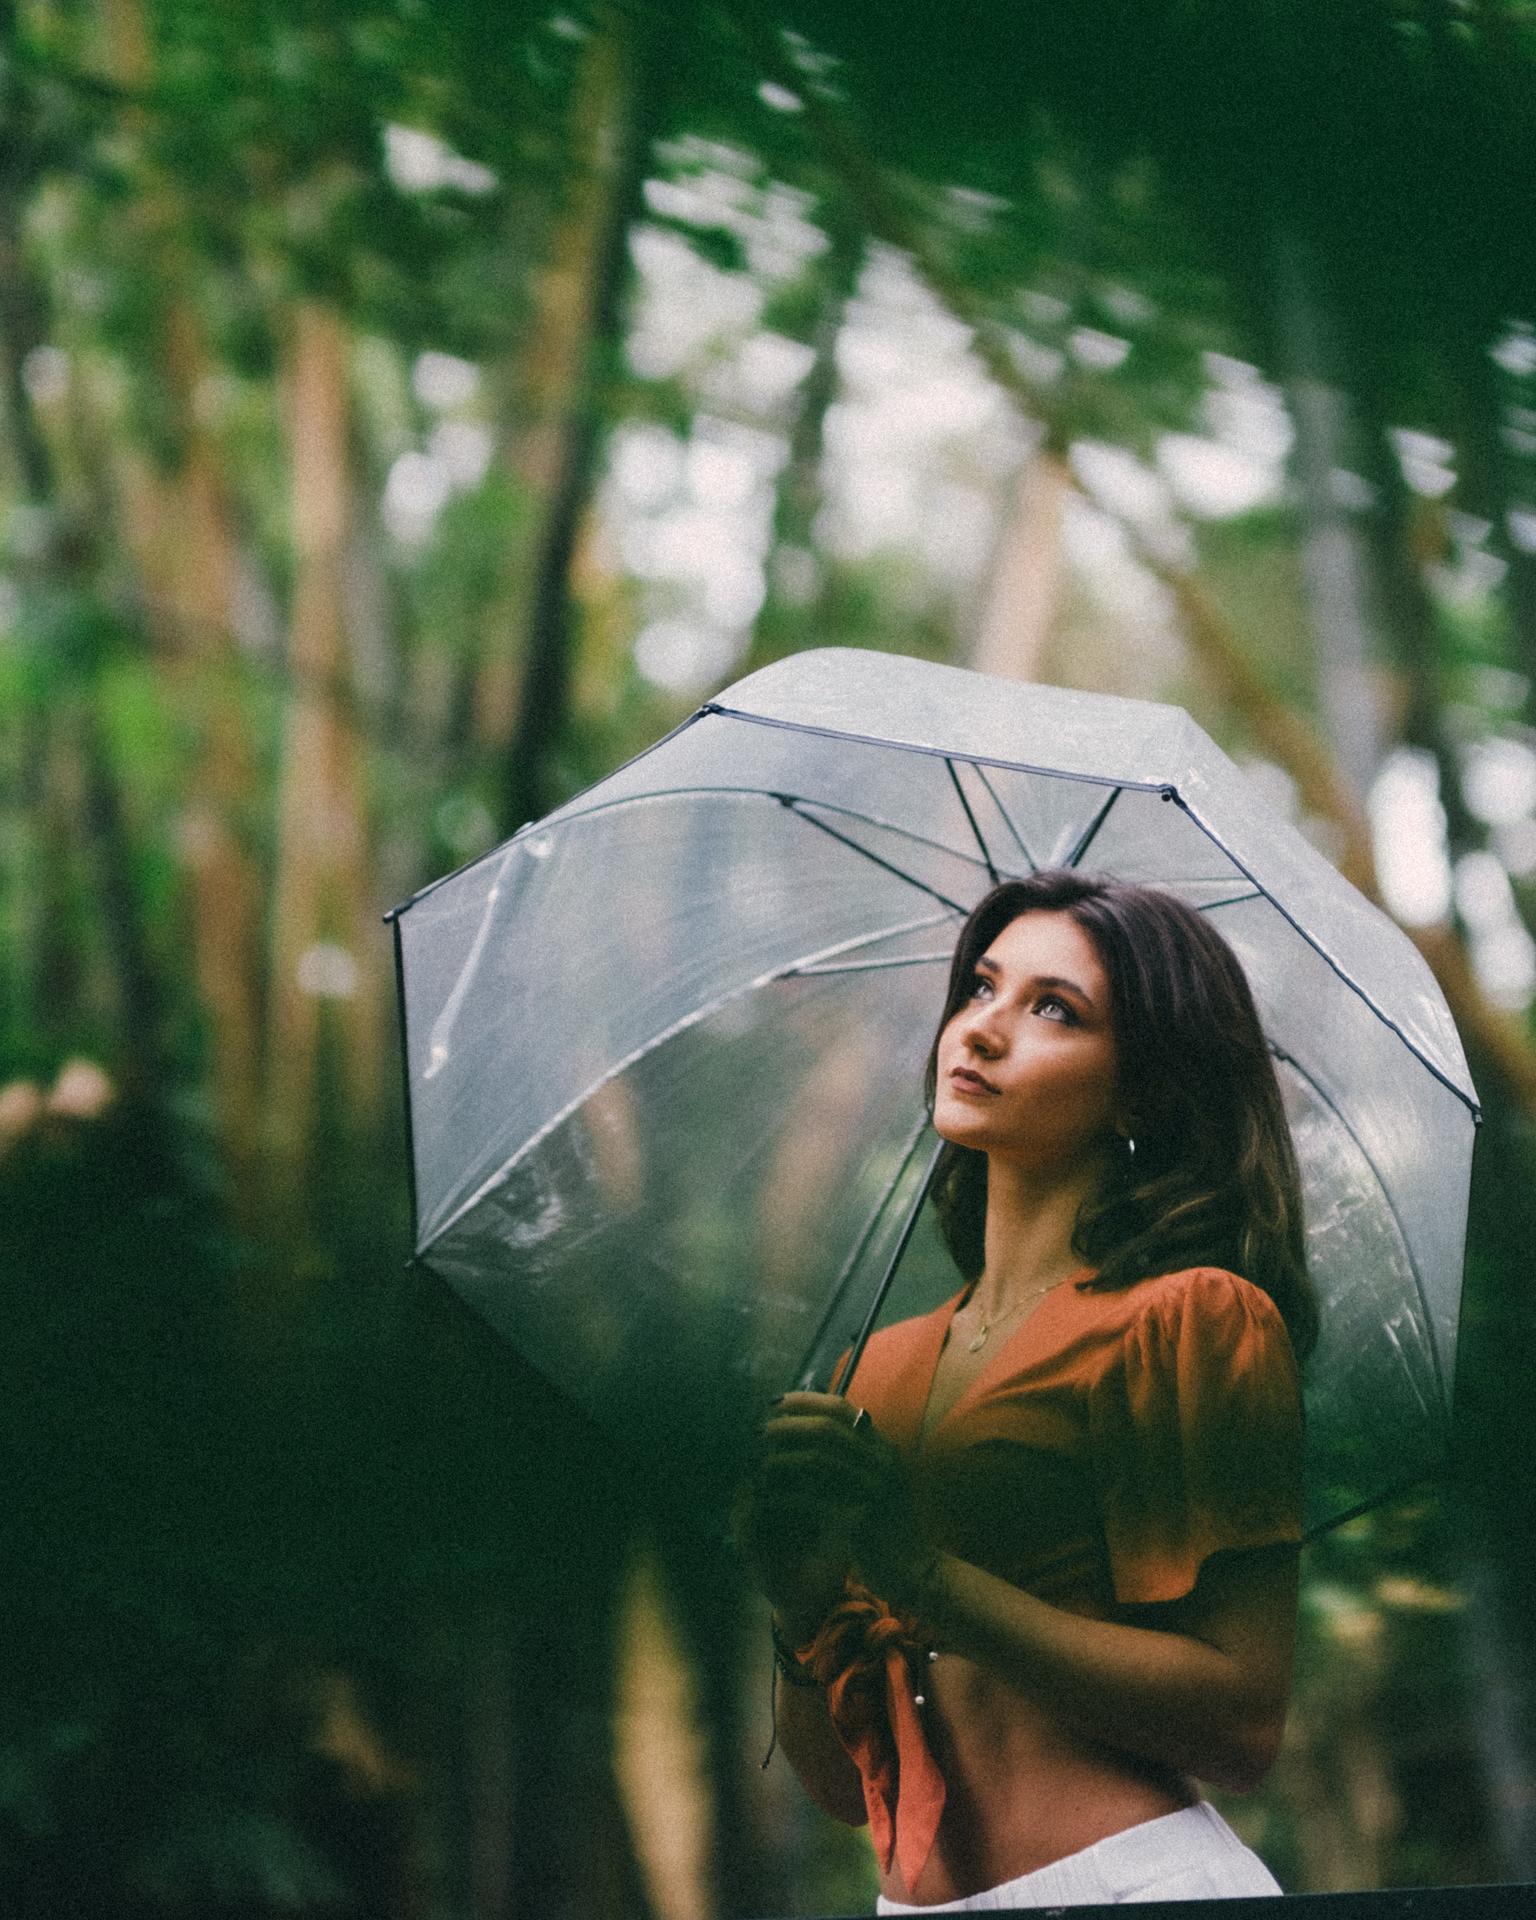
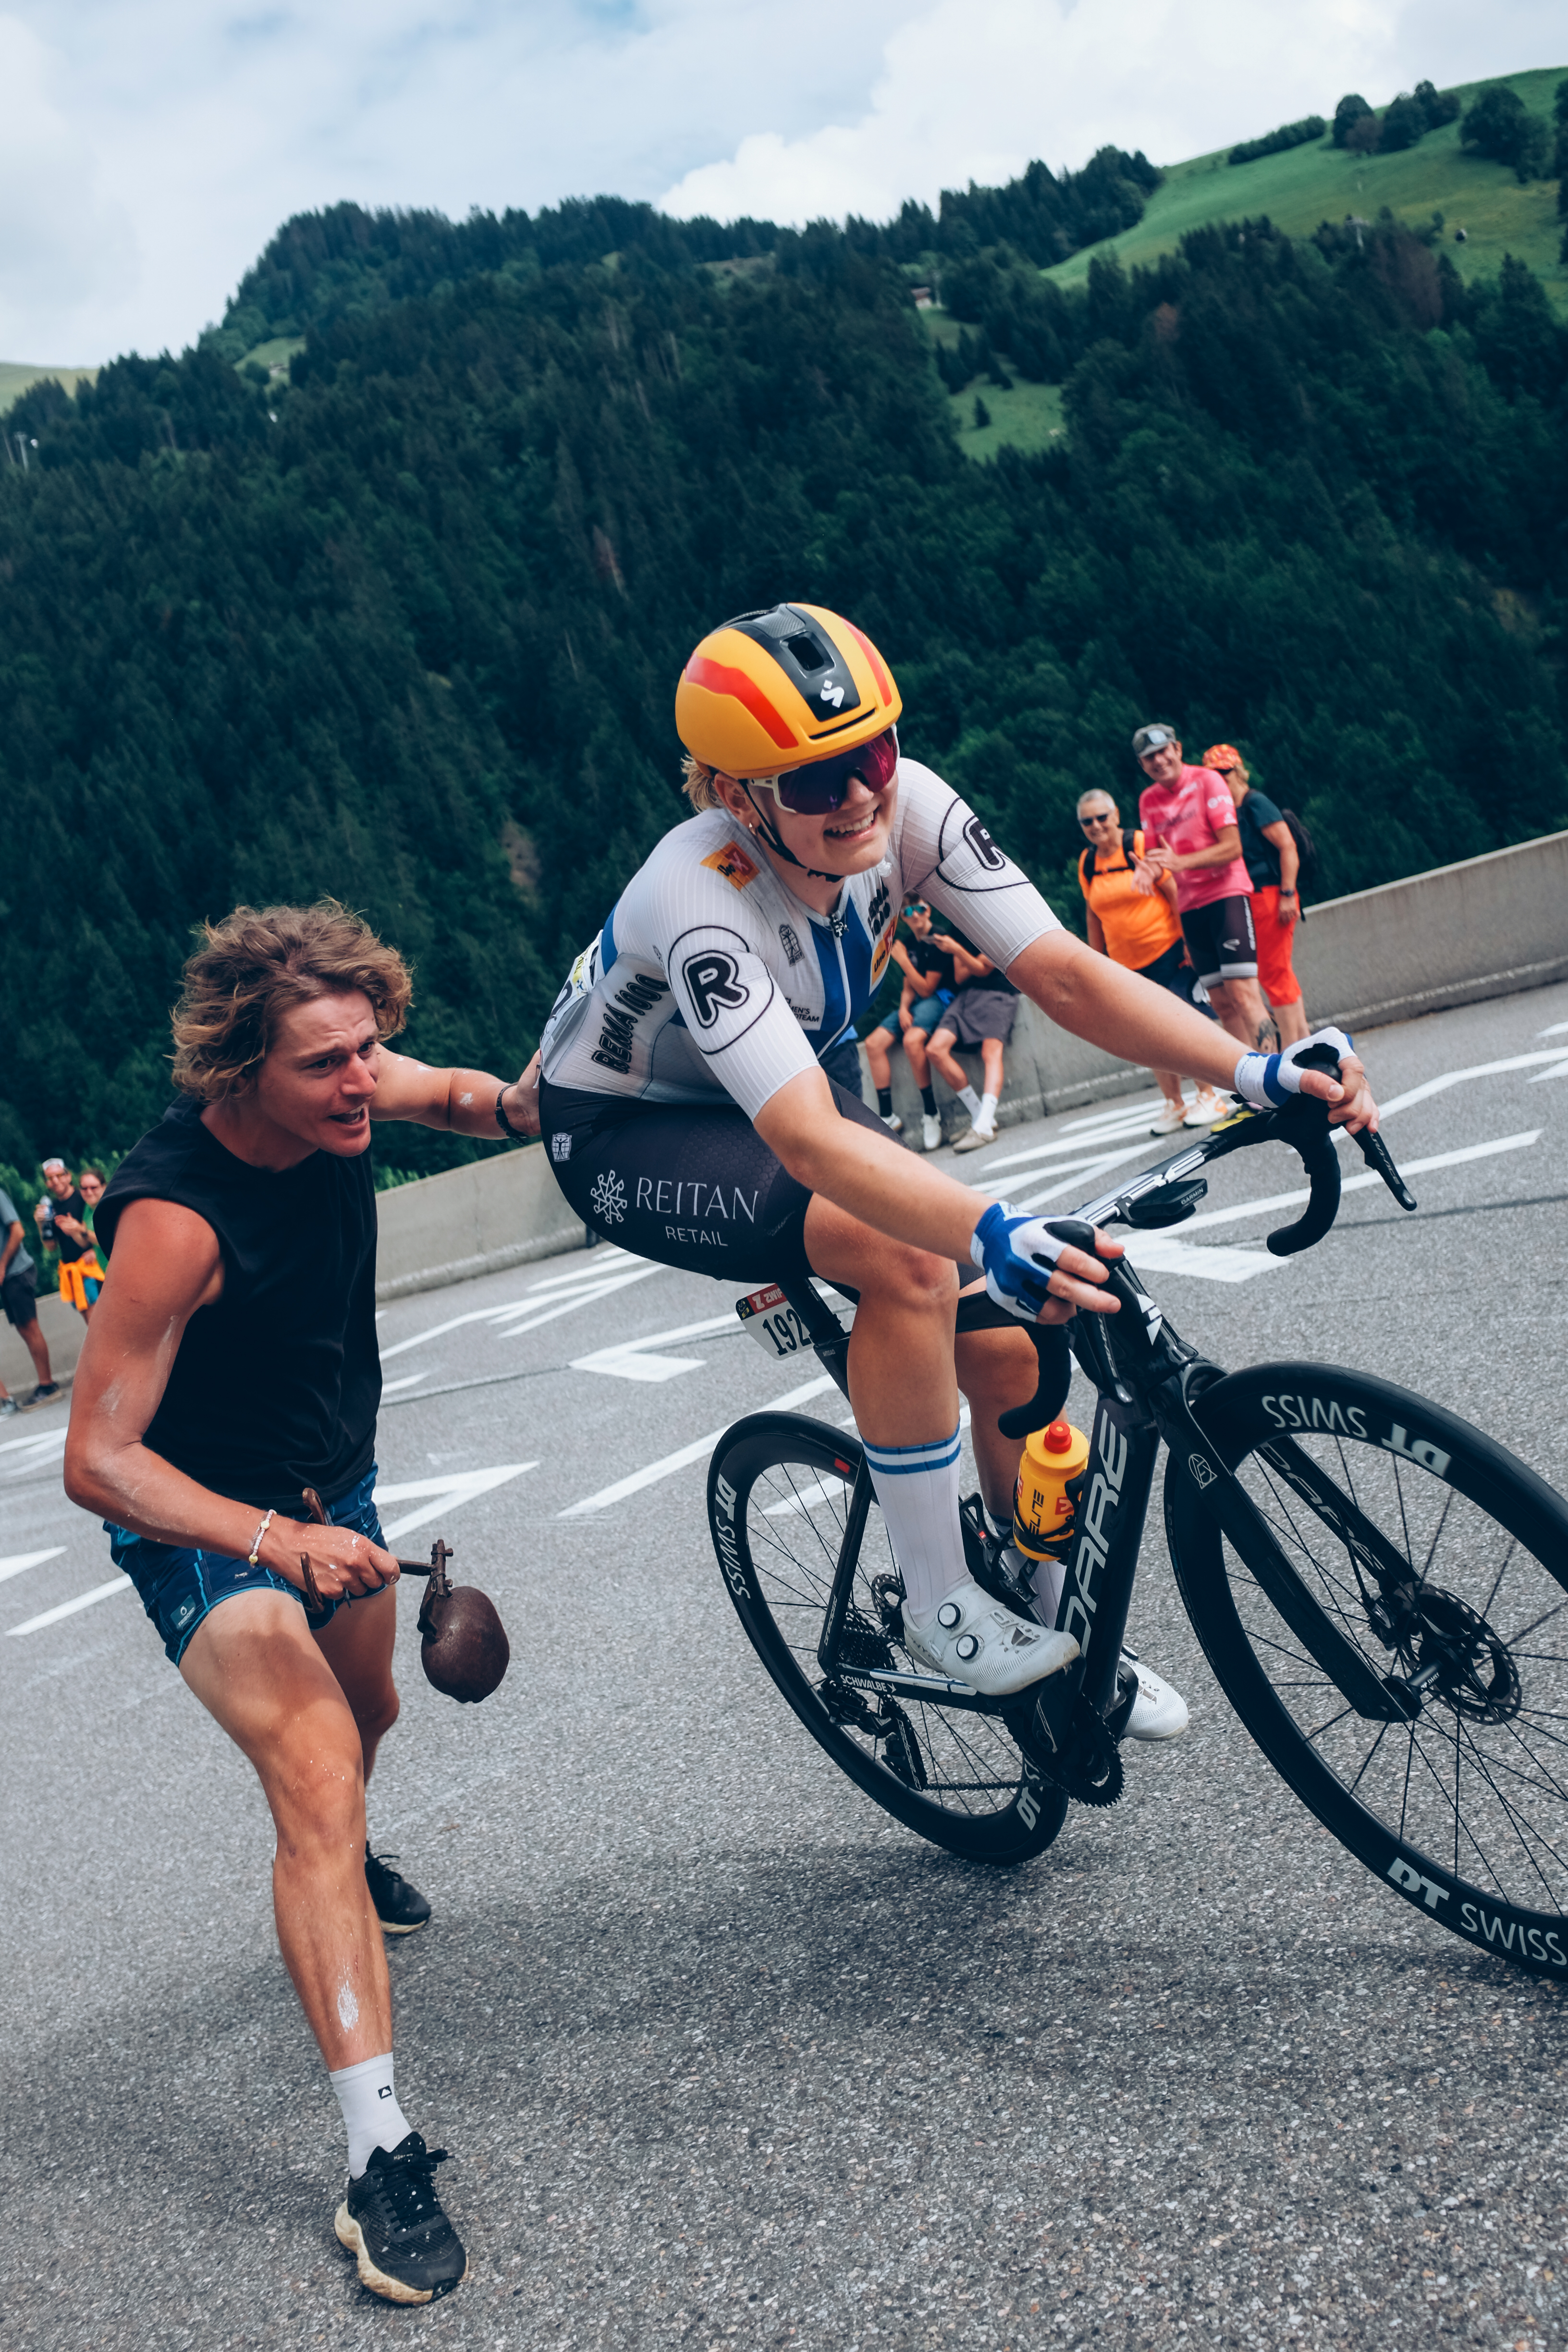
SOOC vs Edited JPEG, the first image shows that you are able to push the JPEGS drastically if you want, others show that there is no real difference between SOOC and final deliverable JEPGS:
The argument about the professional use of Jpegs has been going around since digital photography became mainstream. It is also a topic that pops up in many photographer’s minds from time to time, even if it is just to see how green the grass is on the other side of a heavy-handed raw workflow.
4 Reasons why I shoot JPEGs:
1. A better on-location experience for you, your client, or viewers on social media
SOOC JPEG
When shooting Jpegs, what you see is really what you get.
It’s great to be able to instantly share images that have a “baked in edit” while still on set or at a function. Great-looking images in-camera help create a great vibe on-set. Let me explain, your client, or the model, look through the viewfinder or your tethered computer screen and you hear “Oh my word, that looks amazing!” Immediately you all feel as if the team is moving in the same direction. Now, I’m not saying that great looking Jpegs give you that, obviously we understand it is a combination of many elements that are needed to pull off a successful shoot. Having beautiful images in-camera to show off with, or share from your smartphone, just adds so much more to work with.
Great colour, contrast, and overall toning make up a huge part in the experience of seeing a beautifully graded picture being crafted in front of the viewer. This is also the pleasure I get when shooting mirrorless and I see the final result in my viewfinder while constructing my images.
SOOC JPEG
The reality about this ‘what you see is what you get’ experience, is that it does influence how you take your image. When you get good at mastering your look in-camera you see the scene differently. A good example of this is seeing an overcast day at 7000 Kelvin instead of 5500k. The atmosphere becomes warm and romantic. Sometimes I shoot my sunset images with a strong magenta cast to bring exciting pinks into the sky. All these things will influence how I react to a certain scene.
Together with the fact that your image can be transferred directly to your phone and immediately shared with anyone in the world is a truly immersive experience in photography!
2. Digital space and speed
Jpegs are lightweight, and the obvious benefits of this include faster:
SOOC JPEG
-
Data copy for importing and backup,
-
DNG/raw Preview building. What a disappointment when your camera preview screens for a second or two and you land up editing for 3-4 minutes just to get it back to where it was before the actual raw preview is generated.
-
Larger photoshop file handling
Note:
10 Sessions a month @1000 images per session = 10 000 images per month, 120 000 images per year.
Jpeg = 14mb / 140 000mb (140Gb) / 1 680 000mb (1.68TB)
RAW (Compressed) = 27mb / 270 000mb (270Gb) / 3 240 000mb (3.24TB)
RAW (Un-compressed) = 50mb / 500 000mb (500Gb) / 6 000 000mb (6TB)
3. Utilise your camera’s full-colour science
In the Fujifilm ecosystem, each film simulation is programmed so that the colours are precisely controlled for each level of brightness. This allows us to keep the chromatic contrast for each exposure rich and balanced throughout different exposure value.

SOOC JPEG
Basically, this means that the play of colours adapt to the image being under or overexposed. From what I’ve experienced, and based on Fujifilm’s 85 years experience in colour science, the results are superb.
Import presets don’t react the same way in which a native camera’s algorithms will handle differences in exposure as well as overall colour temperature. For example, over-exposing my Velvia film simulation by 1.5 stops in-camera will give me a different effect on how my RAW converter will process me adding 1.5 stops of ‘Light’ by adjusting a slider.
Like any powerful tool that is available to us (think of Photoshop here), you need to spend time learning how to use it if you would like that tool to become useful to you.
4. Video compatibility
As you learn the strengths and best settings for each of your preferred profiles, you can start using this information to colour grade and capture video in-camera. This is especially useful if you are a hybrid shooter, that is, still and video. When you do hybrid shoots your footage from your video and stills will have looks that are almost identical with each other to start off with.
The Limitations of JPEG
SOOC JPEG
If you are still reading it means you are taking a serious look at what a solid Jpeg workflow could add to your life as a content creator. I feel it is important to understand both the benefits as well as the weaknesses of using Jpegs.
Like many things in life, there are trade-offs. We cannot enjoy all the benefits of lightweight file sizes, faster workflows and seamless sharing without accepting the limitations of compressed files.
Raw files will always contain more data, and thus, leave you with more options for image correction and enhancement during post-production!
Shooting a Jpeg workflow demands deliberate camera settings, as well as getting your lighting right in-camera! With that said, you will be surprised at just how much editing latitude you can gain from a well-exposed Jpeg image. I have attached images to this article to show you just how much editing can still take place when you are starting from the right point.
6 Essential tips to using JPEG on a professional level
SOOC JPEG
Get your lighting perfected before taking the shot. This does not only mean knowing how to use reflectors and flashes correctly but also knowing where to stand in the scene for the best light.
Master your white balance. Use a manual white balance so that you have complete control and can make accurate corrective or creative decisions.
Get obsessed with one film simulation at a time. It’s better to approach a wide selection of looks one at a time. Read up on what Fujifilm – or your camera manufacturer – has to say about a particular look, and then use that look to play & play & play some more. Test its boundaries, paying careful attention to how it reacts in different lighting conditions (High/low contrast, artificial light vs natural light etc.) as well as exposure values (high-key / low-key / well exposed).
Have a few ‘base’ looks to start from. Program a few common settings for your Jpegs and store (or remember) them as presets to start from. Take time to play around with this until you are familiar with a certain film-simulation and how it looks at different exposures and white balance settings. Within no time at all, you will gain an accurate feel for what will work best.
Keep an eye on your highlights! With Jpegs, once you have blown your highlights you will never get them back. Keep an eye on clipped highlights and make your decision on-set whether the amount of clipping is acceptable. If it is an important shot and there is too much clipping, change your exposure or grab a bracketed shot.
SOOC JPEG
Keep a backup of your raw files. I always keep a copy of my raw files until the client has confirmed that they are completely happy with their images. I make sure that my raw file workflow does not slow me down (usually a backup that happens overnight or when I’m away from my office). I am especially careful of this when I shoot work for projects what might still develop after the shoot, such as compositing, advertising or personal projects.
In the last two years, and about 280 000 images later, I have gone back for four raw files. This was not on my clients’ request but rather me wanting to play around with the images in post.
Conclusion
When I started shooting Jpegs it was out of a desperate need for a quicker and more effective workflow. Two years later I have gained so much more than just a better workflow! I have cut down on many hours of work in a month. I use this time to either nurture my business or spend quality time with the family.
I appreciate the limitations of using a compressed Jpeg file and I always try to work within those limitations. The decision to use Jpeg as my primary media format has set me on a path that teaches me to use my equipment more creatively on-location.
I still enjoy editing my images, I just edit much quicker now. With that said, I am happy to share my images straight out of the camera.
The picture below is of a billboard that is currently making its rounds on the N1 in Gauteng. The agency used one of my unedited Jpeg’s to print this billboard (why that happened is another story), but I have received great compliments about it and I’m very happy with how it looks. Since then, my Jpegs and I have worked with the client again on other exciting projects.
Future articles about this:
-
Get it right in camera: On-Location Lighting
-
Get it right in camera: Fujifilm Film Simulations
-
Get it right in camera: Colour balance
Warren James:
Website: warrenjames.co.za


Insightful article Warren and I can see the value of a quick turnaround Jpeg workflow for portrait photographers. I have also been very impressed by the Fujifilm film simulations and it is great to see how you are owning that space. Hats off.
Insightful article Warren and I can see the value of a quick turnaround Jpeg workflow for portrait photographers. I have also been very impressed by the Fujifilm film simulations and it is great to see how you are owning that space. Hats off.
Insightful article Warren and I can see the value of a quick turnaround Jpeg workflow for portrait photographers. I have also been very impressed by the Fujifilm film simulations and it is great to see how you are owning that space. Hats off.
I really liked the article Warren. Thanks for taking the time to write it.
I really liked the article Warren. Thanks for taking the time to write it.
I really liked the article Warren. Thanks for taking the time to write it.